Good Afternoon Stampers!!!
Want a few stamps? Place an order!
Want a LOT of stamps? Host a workshop!
WANT IT ALL!!!! Become a demonstrator!! Ask me How!!!
Thanks to my Mom for lending me her laptop, I can finally start adding stuff....isn't she Just the BEST!!!!!
Here is a card that I just made for my Dad for his birthday. I am also including a "Thank You" card I made for him as well. I have included a picture tutorials on how to make these Wonderful Cards. Please don't hesitate to Email me if you have any questions.
You will have to excuse the different color fonts in the links. Blogger did this all on its own and I have been trying to fix it for hours. Sniff Sniff.....I don't like computers sometimes!!!
I am also including a card I made a while back for my Husbands Fathers Day Card and then what I did for his Birthday present with the same card. There are picture tutorials with this one also. Enjoy!!!
 |
| Here is the finished Masculine Birthday Card! |

Here is the envelope I made for it using Whisper White medium envelope. I stamped the image with the Medallion Stamp. I used Sahara Sand Classic Ink. Then Happy Birthday stamp from the Swirls and Curls Verses stamp set, (pg 4 Hostess Set from the Summer Mini Catalog....ask me how to sign up to get these mini catalogs mailed to you!!!) The Ink I used was Early Espresso Classic Ink. In the center of the medallion, I used the Love stamp from the Valentine Defined stamp set that was found on page 9 of the Jan 2011 - April 30 2011 Occasions Mini Catalog. It is now only available as a My Digital Studio download. I used Black and Real Red Stampin' Write Markers for the ink. The last stamp in upper left corner is also from the Valentine Defined Stamp Set using Blushing Bride In-Color Classic Ink.

Here is the base card measuring 5 1/4" X 4"
Start with a 5 1/4" X 8" strip of Always Artichoke Textured Card Stock and score it in half at the 4" mark. I used our (SNEAK PEAK) Brand New Simply Scored Scoring Tool which is so AWESOME!!! (item #122334 pg 7 of the Holiday Mini Catalog). Link coming soon!!
 |
| SNEAK PEAK!!!!! |
 |
| Medallion Stamp |

Once folded in half, (fold is on top now) I used the Medallion Stamp Set using Always Artichoke Classic Ink. I stamped off center using a scrap piece underneath to catch the ink from the rest of the stamp with our Grid Paper. This paper is awesome because you can line things up without having to get out grids and rulers etc.
 |
Then Using Whisper White and Chocolate Chip Card stock, I used our 1 3/4" Scallop Circle Punch (Old one...sorry.)

I used the Happy Birthday stamp from a Hostess Set. (sorry I will have to find out and let you all know) If you want me to stamp something for you and mail it, just send me an email and let me know. I used Basic Black Classic Ink stamped on Whisper White Card stock. I then used the 1-3/4" Scallop Circle Punch to punch out. I then inked the edges with Sahara Sand Classic Ink and sponge. The Stampin' Sponges, I cut in quarters. Cutting these sponges with our Super Sharp Paper Snips will in essence give you 12 sponges.
Very cost effective.

Using our punch again and cutting out one only, even though I show two, using the Chocolate Chip Card stock like I mentioned above. Cut them into pieces leaving 3 scallops on each piece, shown below. Start attaching these pieces to the back of the stamped white scallop piece, using our Snail Adhesive.
Like shown below.

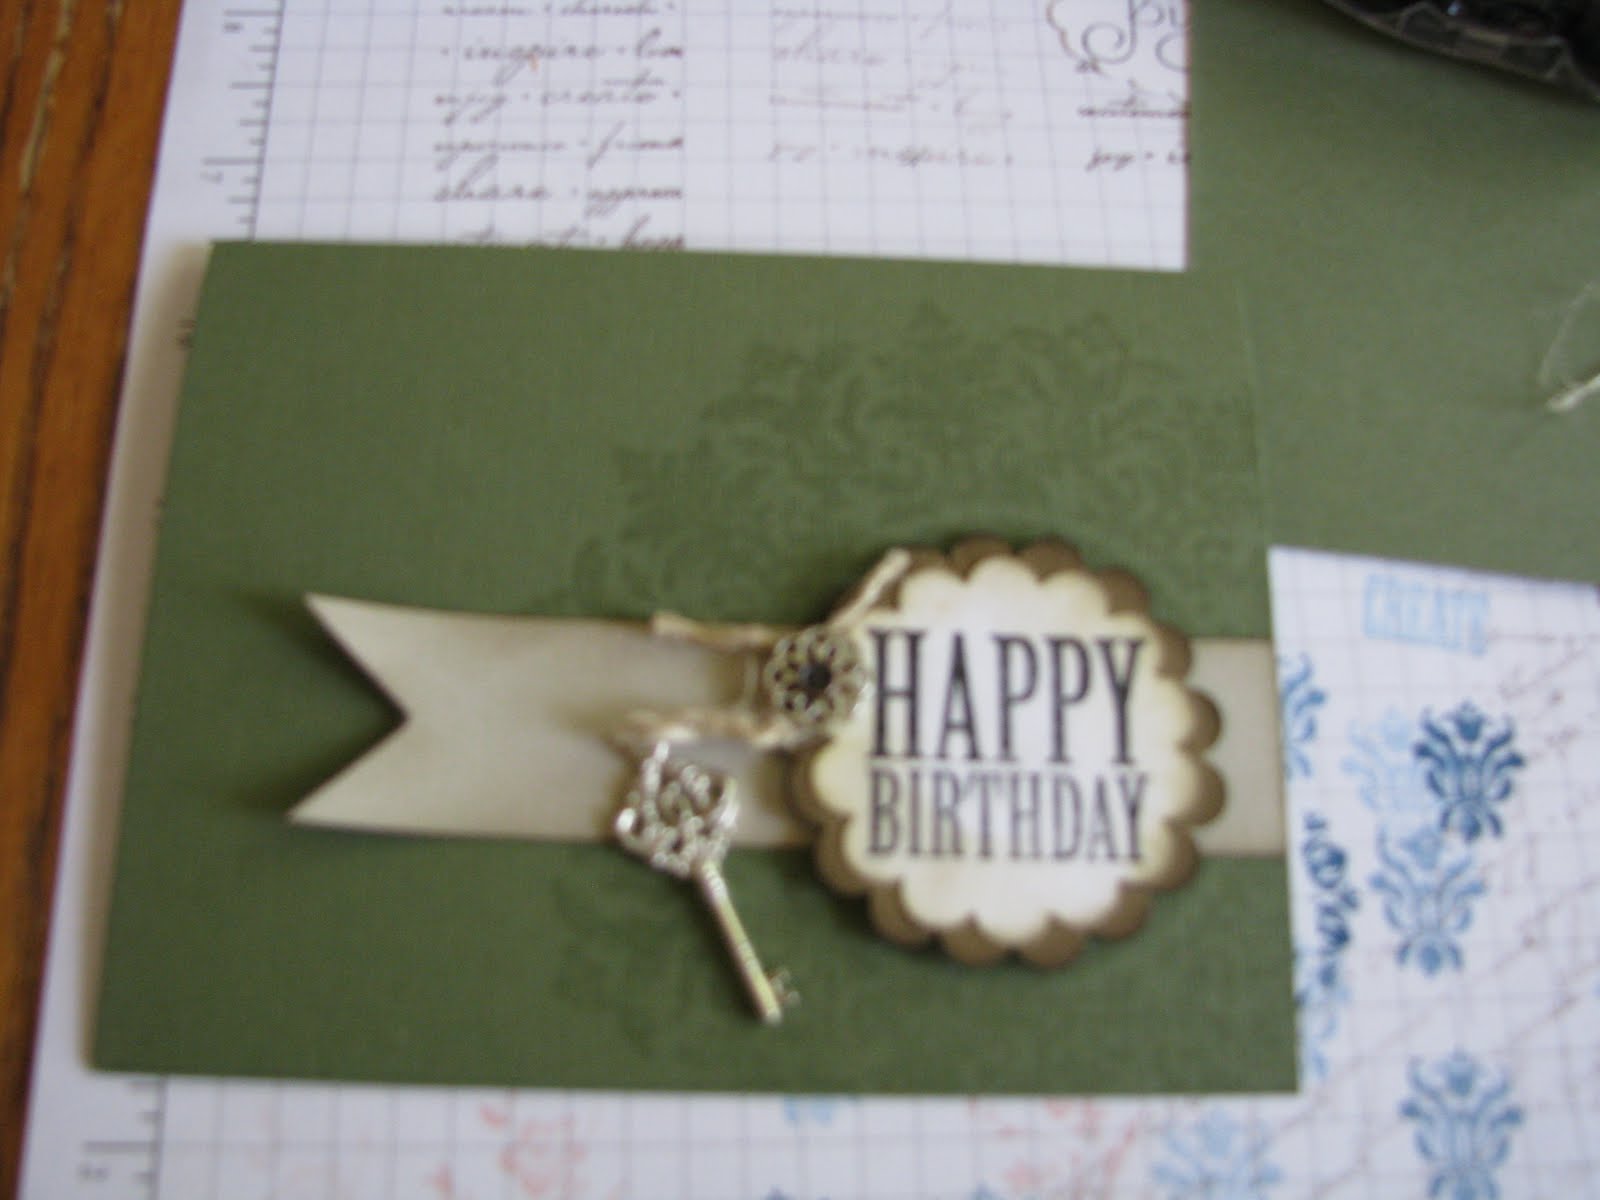
I then cut a 1" wide X 4" strip of Sahara Sand Card stock and snipped the edges to look like a ribbon. I then sponged the edges with Sahara Sand Classic Ink. I attached it using our Snail Adhesive. I then using our Paper-Piercing tool, I pierced a hole in my scallop piece and attached some brads. I used the small button one from the Vintage Trinkets in Antique Brass as the center, and also the smaller Filigree Brad piece. I then attached my scalloped happy birthday piece to the card, over the ribbon using Stampin' Dimensionals. I then used a piece of Hemp Twine and a key from our Trinket Keys, and tied it around the brad with a knot. I then curled the edge of the paper ribbon using my finger. All of these stamp sets, minus the Medallion, I used our Clear-Mount Blocks.
Here is the "Thank You" Card!
 |
| I just LOVE this card....don't you? |
This card after completed measures about 3-1/4 X 3-1/4. Like a dummy, I forgot to measure it...oooopsy!!! I took and cut a piece of Sahara Sand Card Stock to measure 3-1/4" wide X 6-1/2" long. Then I scored it at about 2-3/4" to 3" to offset the fold. I cut a piece of Soft Suede Taffeta Ribbon and attached it with Snail Adhesive. Using Whisper White Card Stock, I stamped the image in Basic Black Classic Inkdangit, is also no longer available. But, good news, you can use the Round Tab Punch and punch twice, but in a circle. So like aim punch at 12 and 6 on clock, then at 9 and 3 and use that as a stencil, or use our Circle Scissor Plus and adhered it to the Scallop Punch image made with Always Artichoke Card Stock. I used Whisper White Card Stock inside for my note of thanks.

I made this envelope out of our Small Open-End Envelopes. I folded it in half and glued it together using our awesome Sticky Strip. Then I put numerous stamps on it. If you would like to know what stamp sets I used just send me a quick email.
I will add the other card tomorrow!!!!
See you then!!